
How to screenshot on a macbook : Whether you’re sharing information with colleagues, documenting software issues, or simply saving memorable moments from your favorite websites or apps, knowing how to take screenshots efficiently can greatly enhance your productivity and communication.
Table of Contents
How to screenshot on a macbook
If you’re new to the MacBook ecosystem or looking to refine your screenshot techniques, this comprehensive guide will walk you through everything you need to know.
Understanding Different Types of Screenshots
Before we dive into the nitty-gritty details, let’s familiarize ourselves with the different types of screenshots you can take on a MacBook:
- Full-Screen Screenshot: Captures everything displayed on your entire screen.
- Partial-Screen Screenshot: Allows you to select a specific portion of the screen to capture.
- Window Screenshot: Specifically captures the contents of a single window or application.
Each type serves its own purpose, so having a good grasp of when to use each one will help you effectively communicate your ideas or capture the information you need.
Method 1: Using Built-in macOS Shortcuts
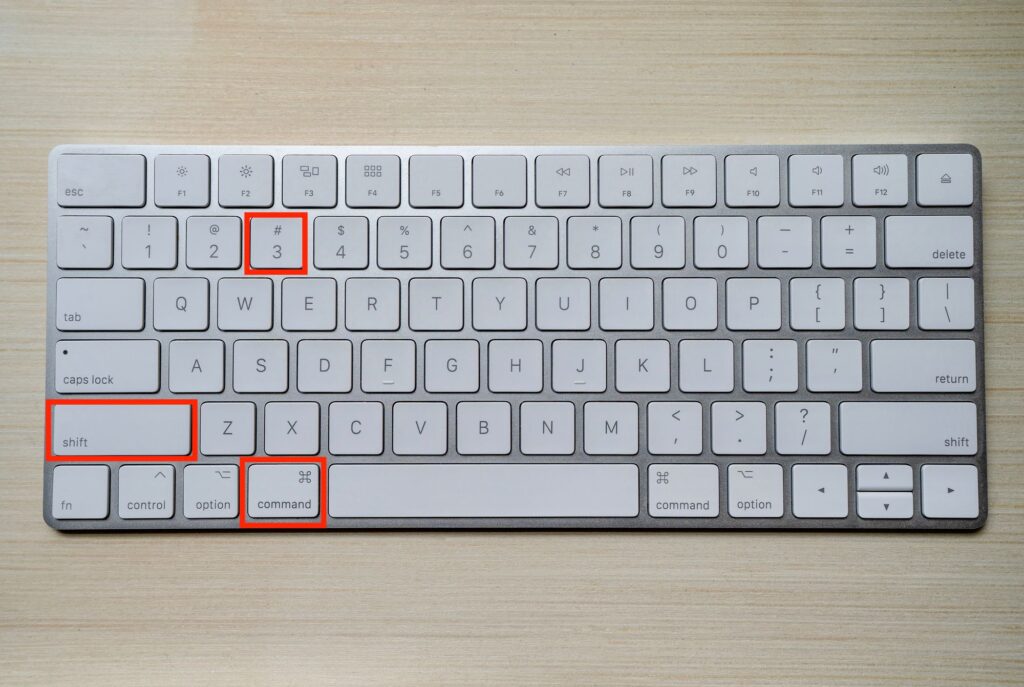
1. Full-Screen Screenshot:
- Command (⌘) + Shift + 3: This shortcut captures the entire screen and saves the screenshot as a file on your desktop by default.
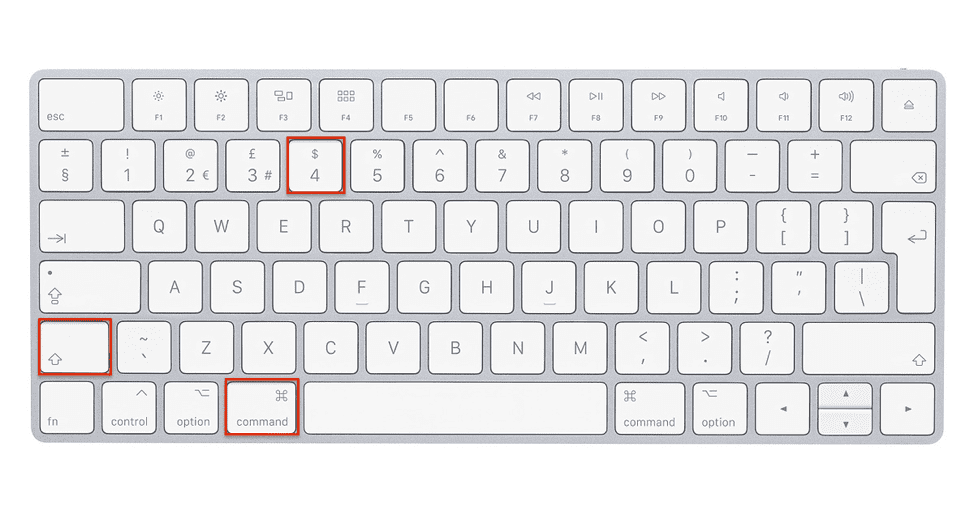
2. Partial-Screen Screenshot:
- Command (⌘) + Shift + 4: Pressing these keys together turns your cursor into a crosshair. Click and drag to select the area you want to capture. Release the mouse button to take the screenshot.
3. Window Screenshot:
- Command (⌘) + Shift + 4, then Spacebar: After pressing Command (⌘) + Shift + 4, press the Spacebar. Your cursor will change to a camera icon. Click on the window you want to capture.
Method 2: Utilizing macOS Screenshot Utility
MacOS also provides a powerful built-in utility for taking screenshots, which offers more options and flexibility:
- Launch Screenshot Utility:
- Press Command (⌘) + Shift + 5 to open the Screenshot utility. This tool allows you to capture the entire screen, a selected portion, or a specific window.
- Choose Capture Options:
- Once the utility is open, you’ll see a menu bar at the bottom of the screen with options for capturing the entire screen, a selected portion, or a specific window. You can also choose where to save the screenshot and set a timer if needed.
- Capture Your Screenshot:
- After selecting your desired capture option, click on the corresponding button in the menu bar to take the screenshot. Your screenshot will be saved according to your specified preferences.

Method 3: Using Third-Party Applications
While macOS offers robust built-in tools for taking screenshots, you may also explore third-party applications for additional features and customization options. Some popular options include:
- Snagit: A powerful screen capture and recording software with advanced editing capabilities.
- Skitch: An annotation tool by Evernote that allows you to capture, annotate, and share screenshots.
- Lightshot: A lightweight screenshot tool with easy-to-use annotation features.
- Jing: A simple screen capture tool by TechSmith, suitable for basic screenshot needs.
Tips for Optimizing Your Screenshot Workflow
To further enhance your screenshot-taking experience on a MacBook, consider the following tips:
- Organize Your Screenshots: Create a dedicated folder on your desktop or in your Documents directory to store your screenshots systematically.
- Utilize Keyboard Shortcuts: Memorize the keyboard shortcuts for different screenshot options to streamline your workflow.
- Experiment with Editing Tools: Explore macOS’s built-in Markup tool or third-party editing software to annotate and enhance your screenshots as needed.
- Explore Cloud Integration: Take advantage of cloud storage services like iCloud or Dropbox to automatically sync and back up your screenshots across devices.
- Stay Updated: Keep your macOS updated to access the latest features and improvements in screenshot functionality.
Conclusion
Mastering the art of taking screenshots on a MacBook is a valuable skill that can greatly improve your productivity and communication. Whether you’re a seasoned Mac user or a newcomer to the platform, the built-in tools and third-party applications available offer a range of options to suit your needs. By familiarizing yourself with the different screenshot methods, exploring customization options, and incorporating best practices into your workflow, you’ll be well-equipped to capture and share information effortlessly in any context.